Accident Panel Painting
Accident panel painting is a multi-stage process that requires precision and specialized equipment to restore a vehicle's appearance and protect it from corrosion. Here is a visual breakdown of the key steps involved in repairing, prepping, and repainting a damaged car body part.
1. Assessment and Initial Repair
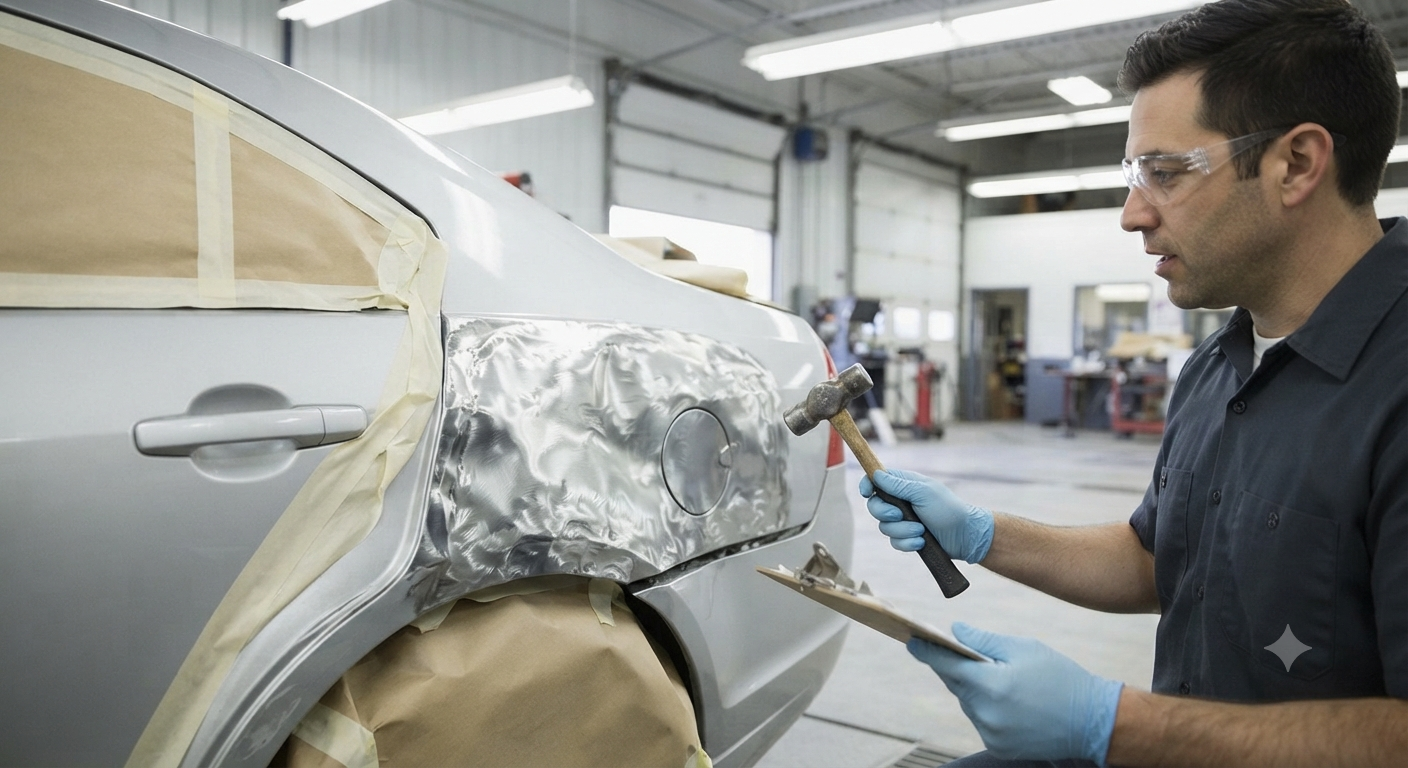
The process begins when a damaged panel—in this case, the rear quarter panel of a sedan—arrives at the repair bay. The initial phase involves assessing the extent of the damage and preparing the metal for repair.
Even if a new panel is used, it must be properly fitted. Technicians often work on the bare metal, stripping away the old paint and primer around the damaged area to expose the substrate. If the original panel is repairable, specialized tools are used to hammer, dolly, or pull the dents back to their original shape. The goal here is to achieve the correct contour, minimizing the amount of filler needed later. The surrounding areas are carefully masked off to protect them during these initial mechanical repairs.
Accident panel painting is a multi-stage process that requires precision and specialized equipment to restore a vehicle's appearance and protect it from corrosion. Here is a visual breakdown of the key steps involved in repairing, prepping, and repainting a damaged car body part.
1. Assessment and Initial Repair
The process begins when a damaged panel—in this case, the rear quarter panel of a sedan—arrives at the repair bay. The initial phase involves assessing the extent of the damage and preparing the metal for repair.
Even if a new panel is used, it must be properly fitted. Technicians often work on the bare metal, stripping away the old paint and primer around the damaged area to expose the substrate. If the original panel is repairable, specialized tools are used to hammer, dolly, or pull the dents back to their original shape. The goal here is to achieve the correct contour, minimizing the amount of filler needed later. The surrounding areas are carefully masked off to protect them during these initial mechanical repairs.
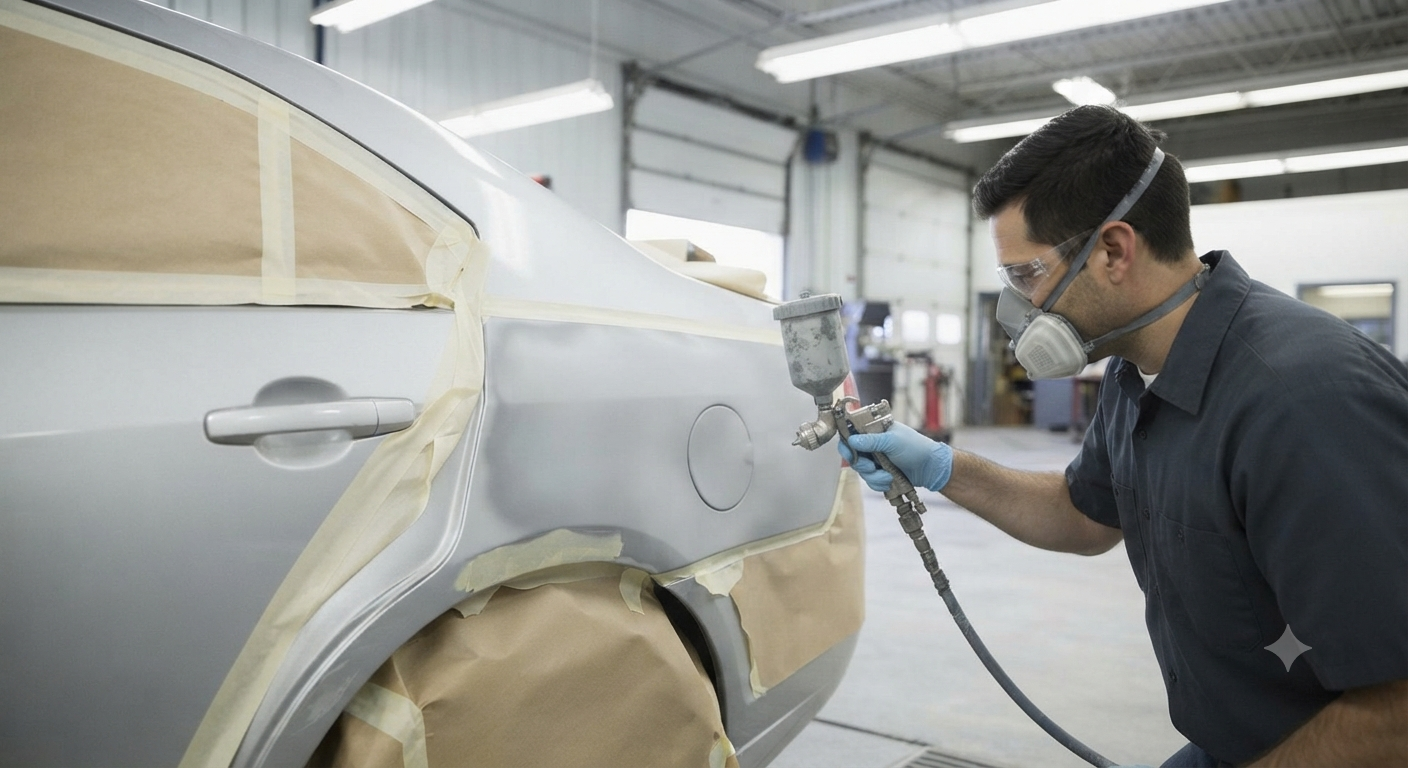
Figure 2: Priming the Surface. Inside the shop, the technician applies a gray primer surfacer to the repaired quarter panel. The masking is extensive, covering the adjacent door and trunk.
3. Application of Base Coat and Clear Coat
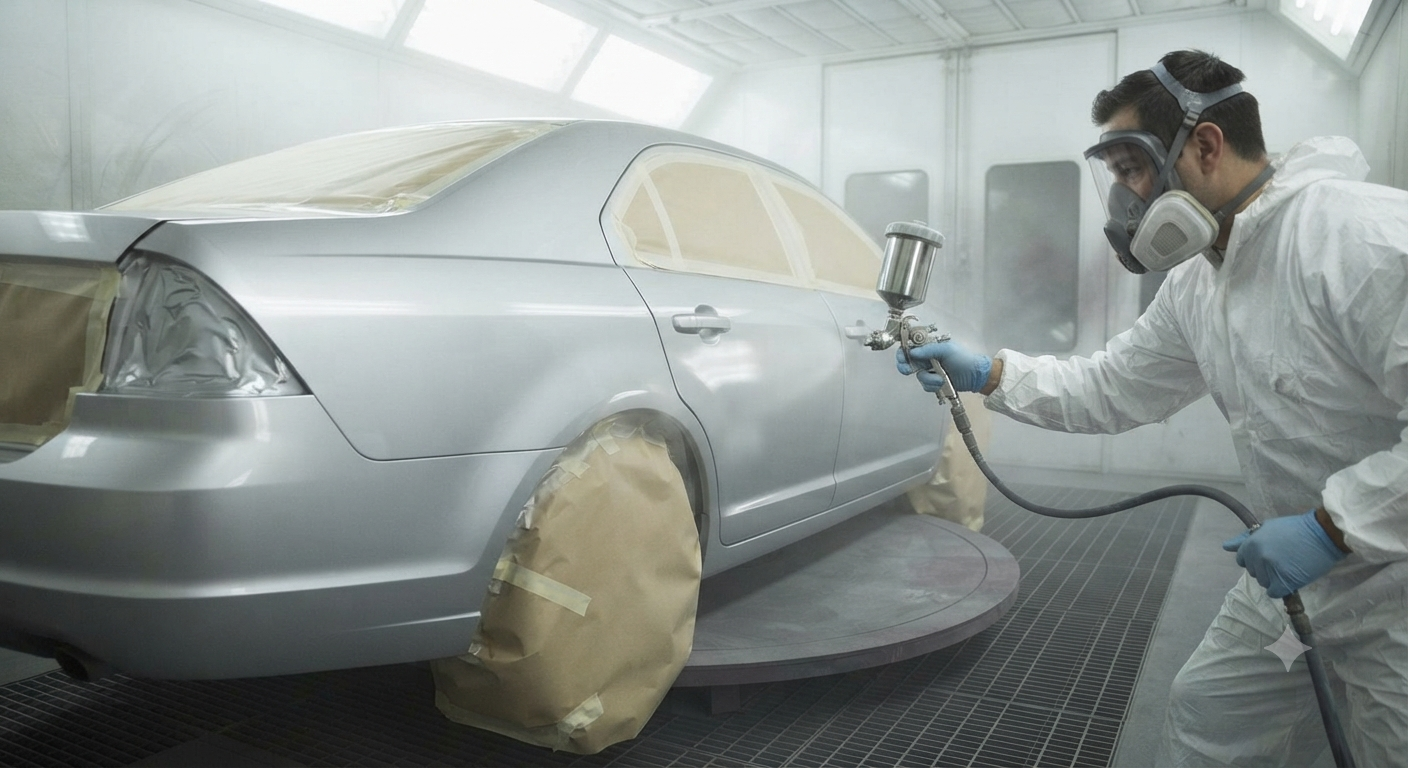
The final stage is the actual painting, which takes place in a specialized, downdraft spray booth (Figure 3). This environment is heated and filtered to eliminate dust and contaminants.
The technician, now wearing a full-face respirator and a specialized paint suit, first mixes the paint to match the car's specific paint code (re-creating the silver metallic finish). They apply the base coat (the color) in several light, overlapping layers until the primer is completely covered and the color is opaque. Critically, the technician "blends" the edge of the new paint into the existing silver paint on the adjacent door and trunk lid. This technique tricks the eye, making the repair invisible.
Finally, while the base coat is still tacky, a high-solids clear coat is applied over the entire panel. This clear coat provides the deep gloss, UV protection, and durability. After the paint has flashed (partially dried), the vehicle is baked under infrared lamps or in the booth's oven to cure the finish completely.
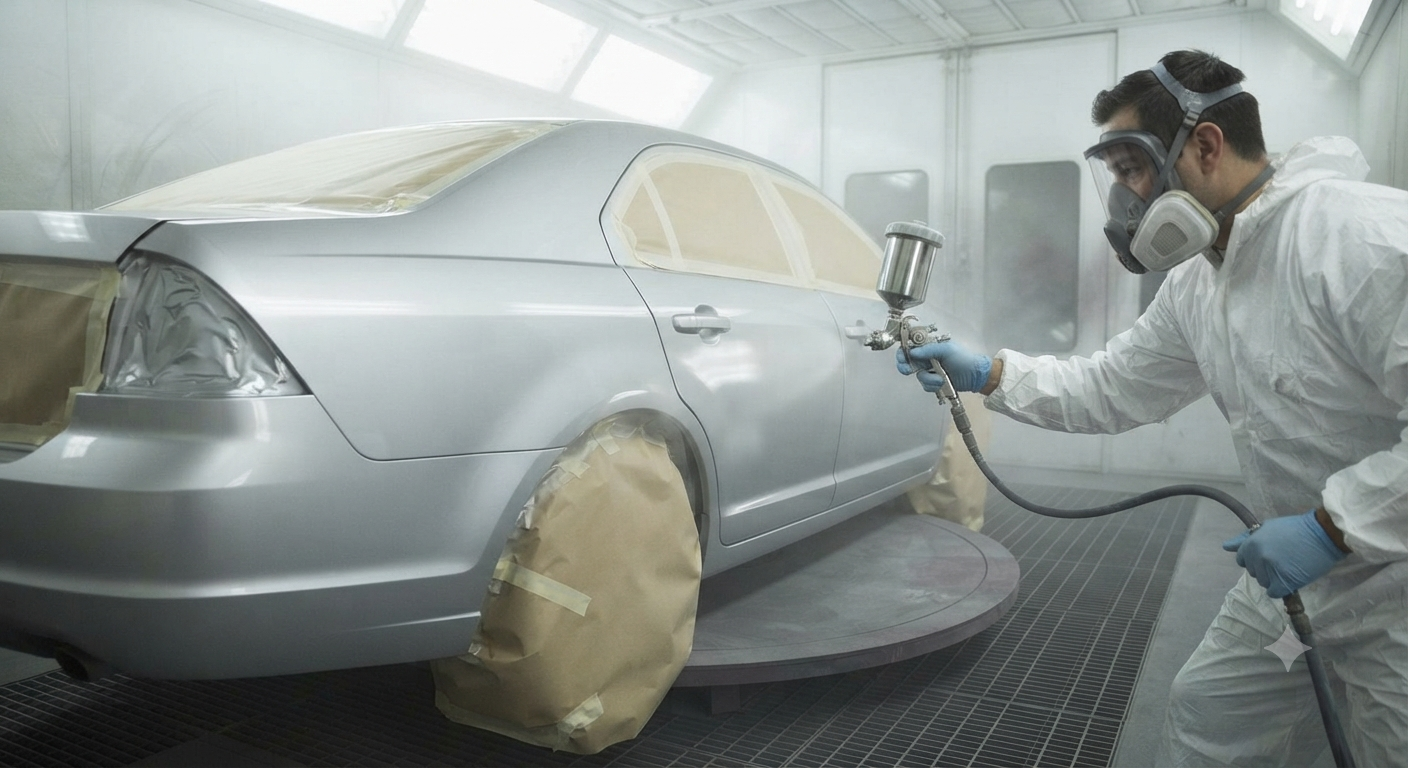
Figure 3: The Final Application. Inside the sterile spray booth, the masked-off sedan rotates as the painter applies a glossy clear coat over the silver base, blending the repair zone.
Frequently Asked Questions
Do I need an appointment for an estimate? +
An appointment helps us review the vehicle damage carefully and prepare the right next steps.
Can you inspect hidden damage? +
Visible damage is inspected first, and hidden damage may be found once damaged parts are removed.
How do I start a repair request? +
Use the request form or contact Lakewood Collision LLC with your vehicle details and damage photos.